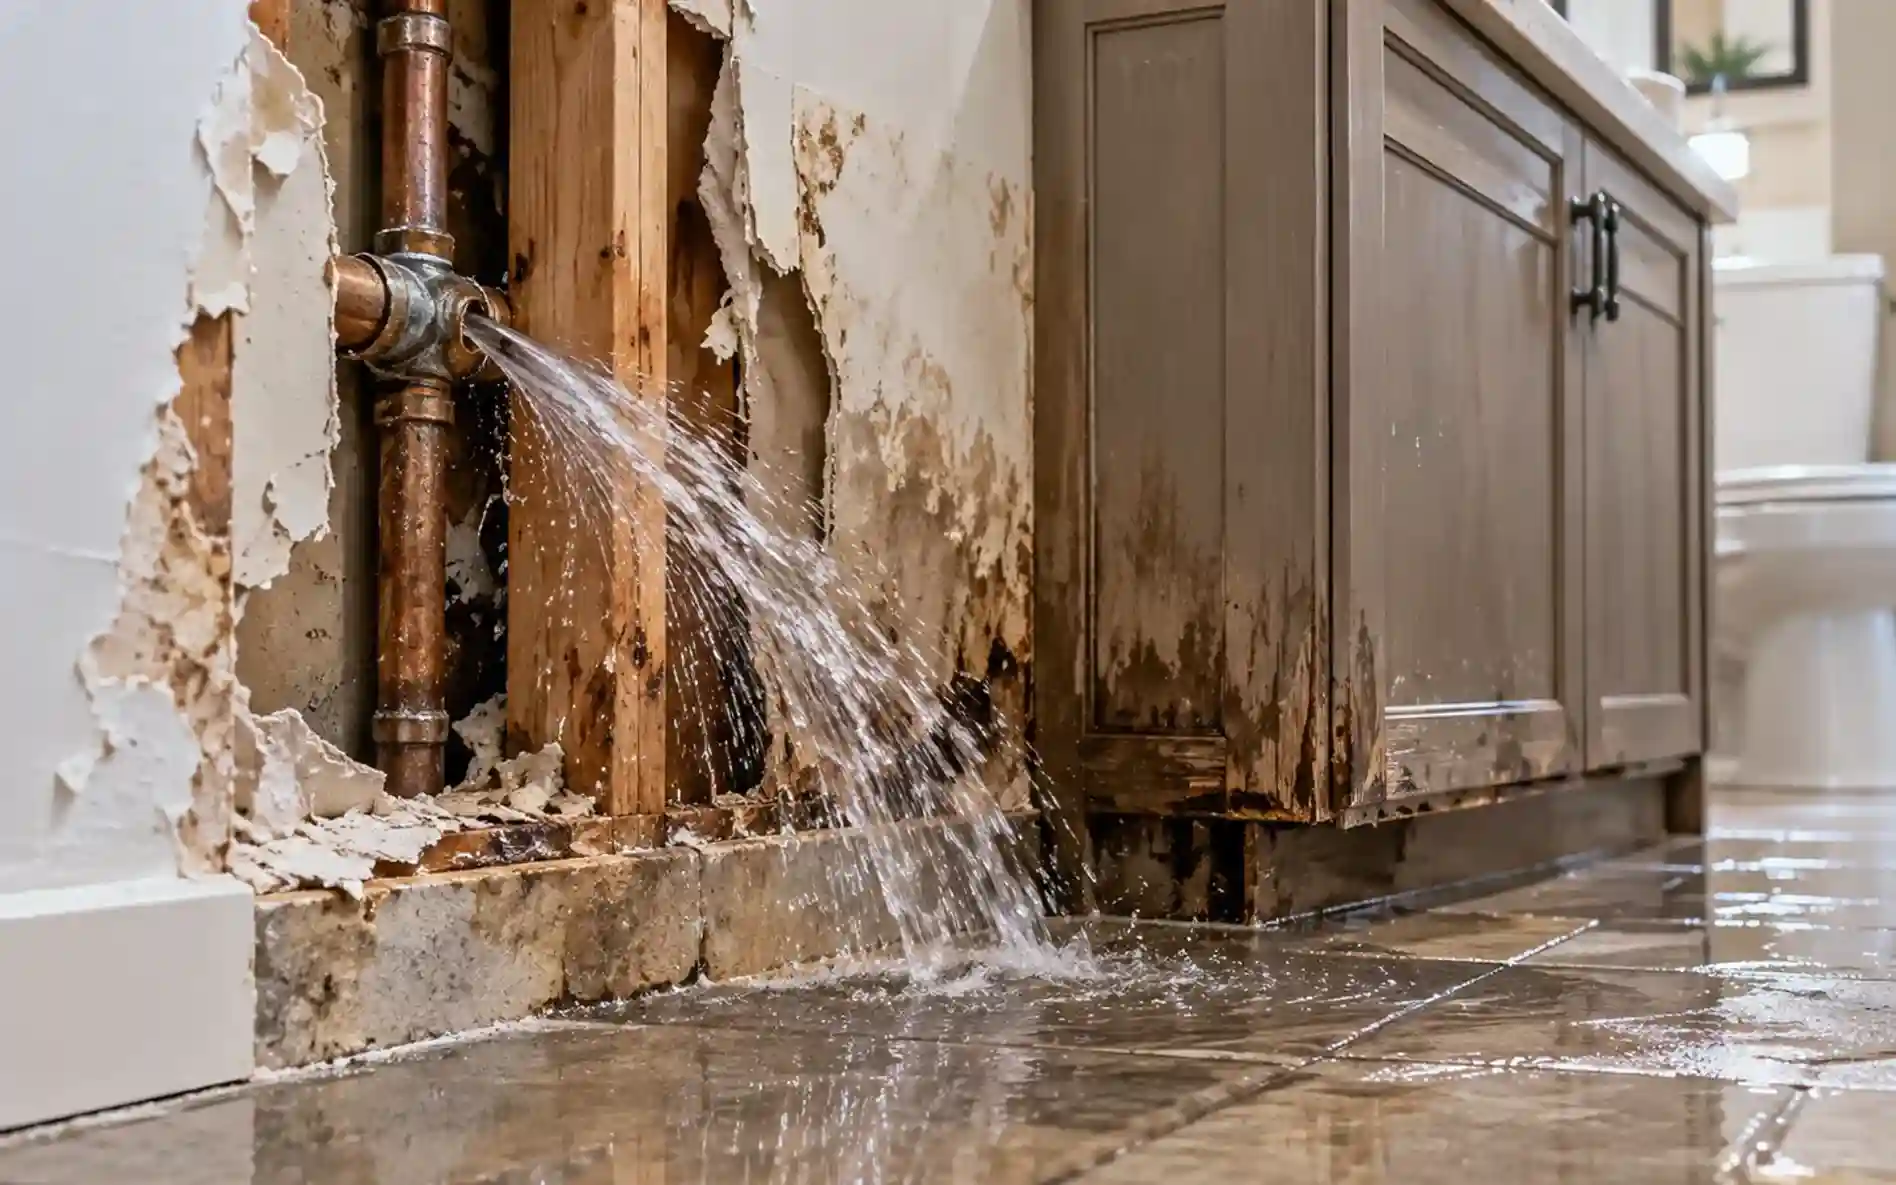
A burst pipe is a split or rupture in a water supply line that lets water escape under pressure. In most homes, the term describes a plumbing failure that can release a large volume of water quickly. Freezing weather is the best-known trigger, but pressure, corrosion, movement and blockages can also cause a pipe to fail. Even a modest rupture can soak walls and floors before anyone notices it.
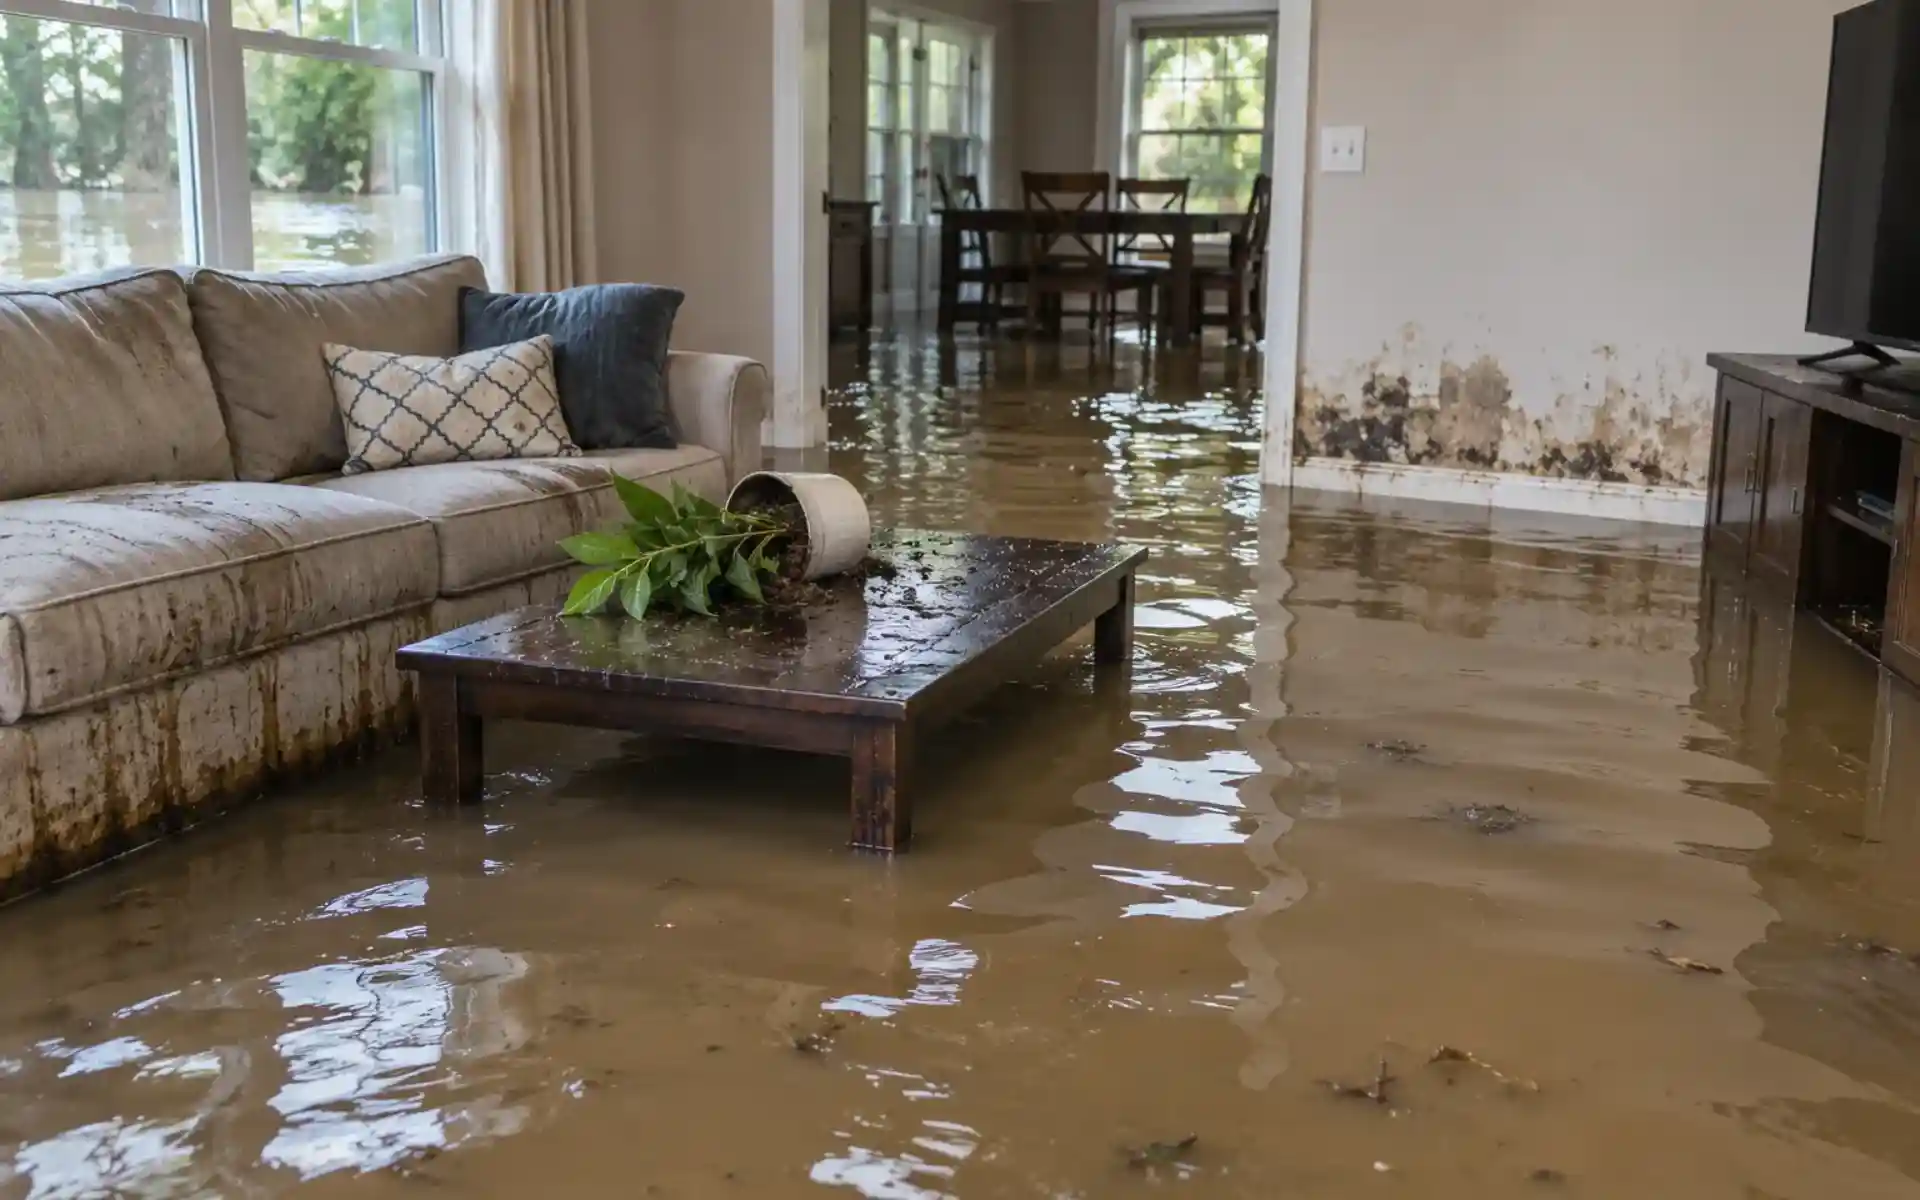
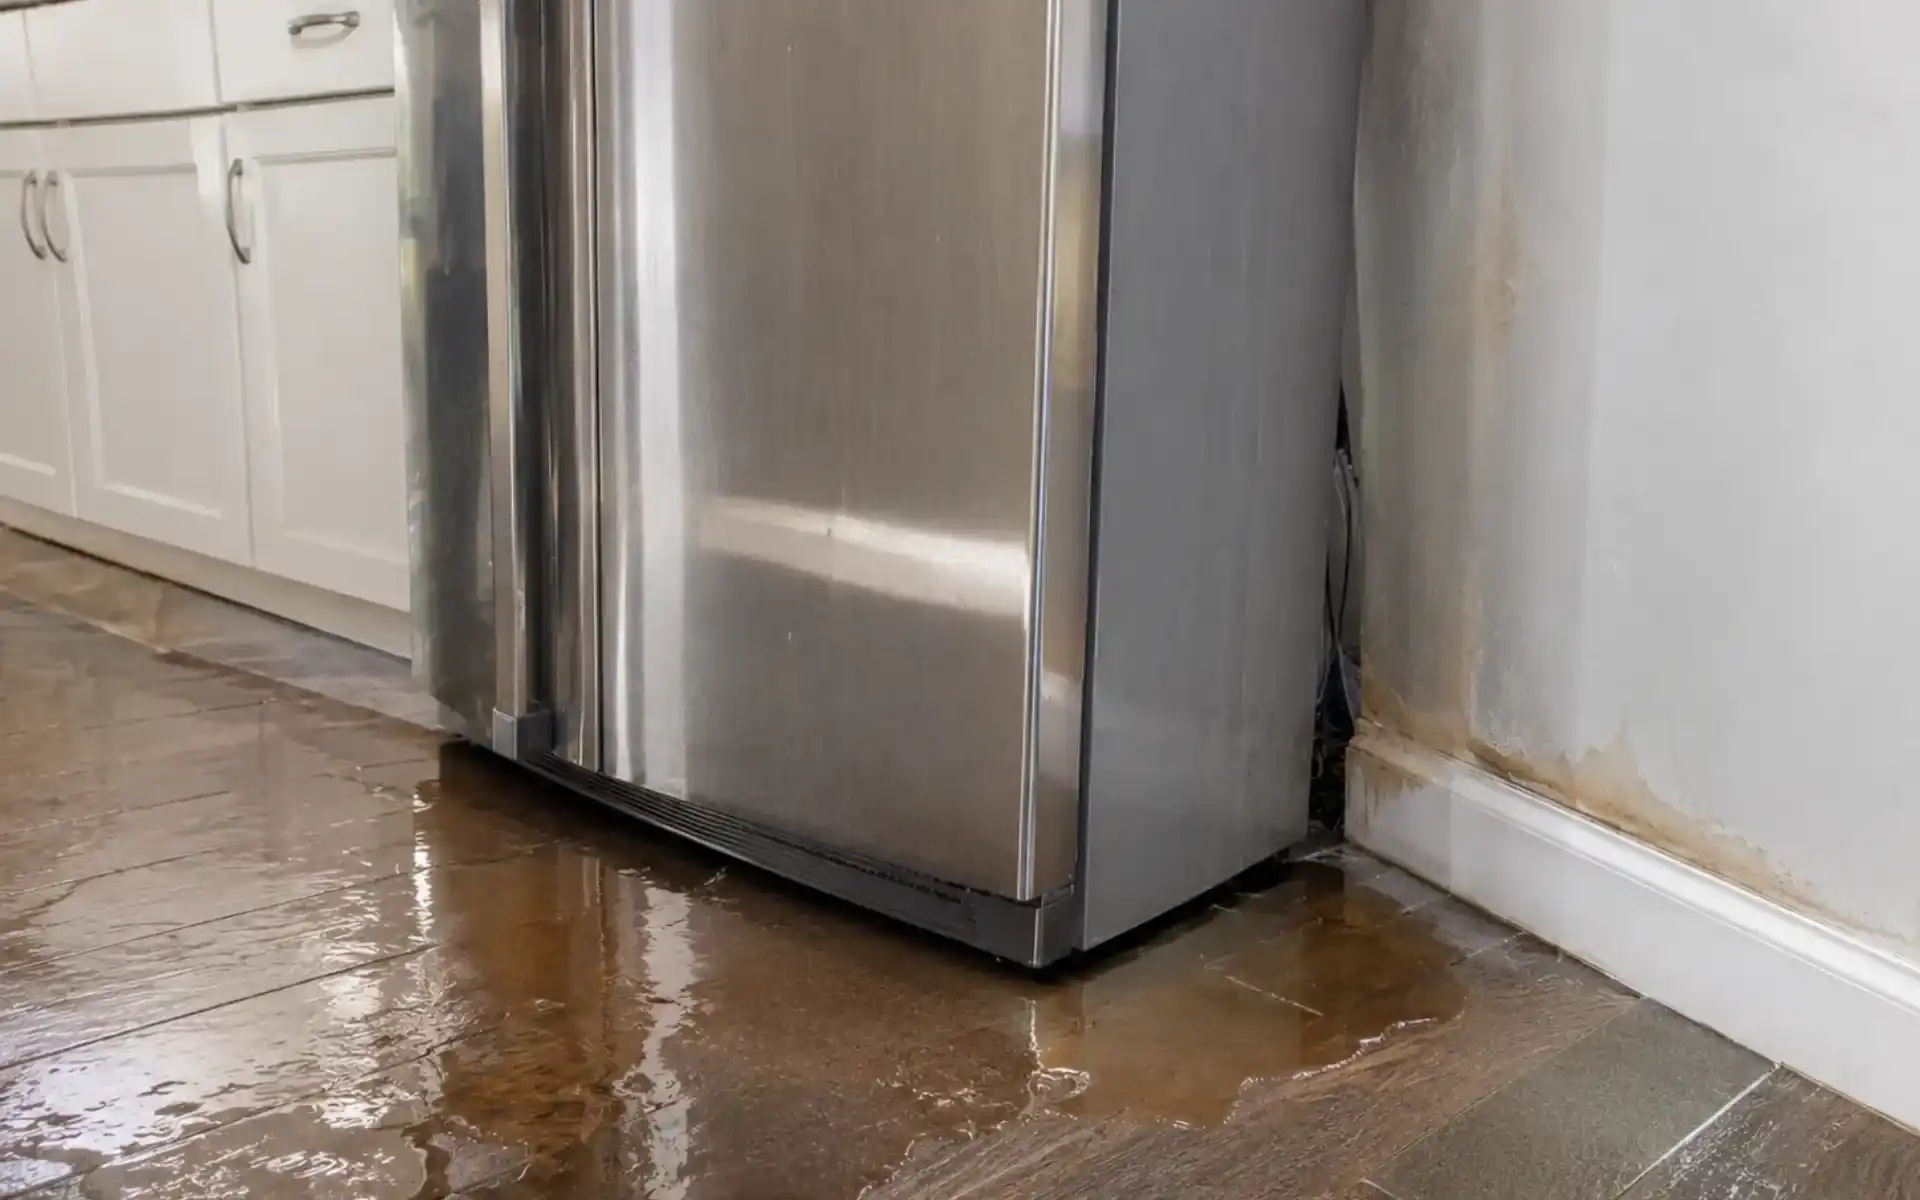
The consequences go well beyond a mess. Escaping water damages drywall, flooring and belongings, and lingering moisture encourages mold growth. Water can also reach outlets, wiring and appliances, creating electrical hazards. The longer the water runs, the larger the repair and cleanup become, so fast shutoff matters.
A burst pipe should not be confused with pipe bursting, a trenchless replacement method. That technique deliberately fractures an old underground pipe while pulling a new one into place, with little digging. A burst pipe, by contrast, is an accidental failure that nobody planned. This guide focuses on the household problem: why it happens, how to spot it, and what to do next.
What Causes Pipes to Burst?
Pipes burst when stress on the pipe wall exceeds what the material can withstand. The main drivers are freezing, high water pressure, water hammer and pipe movement, corrosion, clogs, tree roots and poor installation. Each one either raises the force inside the pipe or weakens the wall that contains it. Eventually a crack, split or failed joint appears at the weakest point.
Failures often combine long-term weakness with a sudden trigger. An older, corroded pipe may carry water for years, then split during a cold snap or after a pressure surge. Loose fittings and flexing add fatigue that builds quietly. Understanding these causes helps you decide which risks apply to your home and which preventive steps matter most.
Why Do Pipes Burst in Freezing Weather?
Pipes burst in freezing weather because ice forms a blockage and traps water between that plug and a closed faucet. As more water freezes, it expands and squeezes the remaining liquid, so hydraulic pressure climbs until the pipe gives way. That pressure comes from the last water to freeze, not from the ice itself. The pipe therefore often bursts where little or no ice has formed.
The most vulnerable pipes are those exposed to cold air, including lines in attics, crawl spaces, unheated garages and exterior walls. Because ice still plugs the break, the rupture may not leak while temperatures stay low. Water usually appears after the thaw, when flow resumes through the split. That delay is why a frozen pipe should be treated as a possible burst.
At What Temperature Do Pipes Burst?
No single temperature guarantees a burst, because the outcome depends on exposure, insulation, duration, pipe material and wind. A practical alert threshold is 20°F, the level at which pipes in unheated areas deserve special attention. A short dip may do little to a well-protected pipe, while a poorly insulated line can freeze at milder readings. Treat the number as a warning level, not a precise failure point.
Duration matters as much as the reading. A brief cold snap may leave pipes intact, while a sustained freeze gives ice time to form and pressure time to build. Water expands about 9% when it freezes inside pipes, which explains the force involved. Wind blowing on an exposed wall can speed freezing even when the air temperature seems manageable.
High Water Pressure, Water Hammer and Pipe Movement
Excess water pressure strains pipe walls, joints and fittings until one of them fails. Most homes run at 30 to 50 psi, and pressure should not exceed 60 psi if you want to avoid pipe damage. A simple pressure gauge on an outdoor spigot or laundry connection shows where your system sits. If readings run high, a pressure regulator can bring them down.
Water hammer adds sudden shocks. It happens when a valve closes abruptly and the moving water slams to a stop, sending a pressure spike and a knocking sound through the pipes. Unsecured pipes can also move when water is turned on or off, flexing at joints over time. Over years, faucets, appliances and fittings suffer, and weakened connections may eventually split or leak.
Corrosion, Aging Pipes and Poor Installation
Corrosion thins pipe walls from the inside until they crack or leak. Rust formation steadily removes material, and galvanized steel pipes can start weakening after roughly 50 to 70 years. Warning signs include discolored water and pinhole leaks, which often precede a larger failure. Water chemistry can speed this process in some homes.
Poor installation creates weak points from the start. Low-quality materials, badly made joints and pipes left unsupported can fail much earlier than expected. Older metal plumbing is especially vulnerable because age and corrosion work together. When a home shows repeated leaks or rusty water, widespread wear is more likely than a one-off defect.
Clogs, Blockages and Tree Root Intrusion
Clogs and blockages can burst pipes by blocking flow and building pressure behind the obstruction. The stress concentrates upstream of the clog, where water has nowhere to go. In a weakened or aging pipe, that added force may be enough to open a crack or push a joint apart. Persistent slow flow can be an early warning.
Tree roots threaten underground lines. They seek moisture, enter at joints and cracks, and then expand, which can split older clay or cast iron pipes and shift sections out of alignment. Once roots take hold, blockages tend to recur. Fine roots can become dense masses that restrict flow and widen the damage.
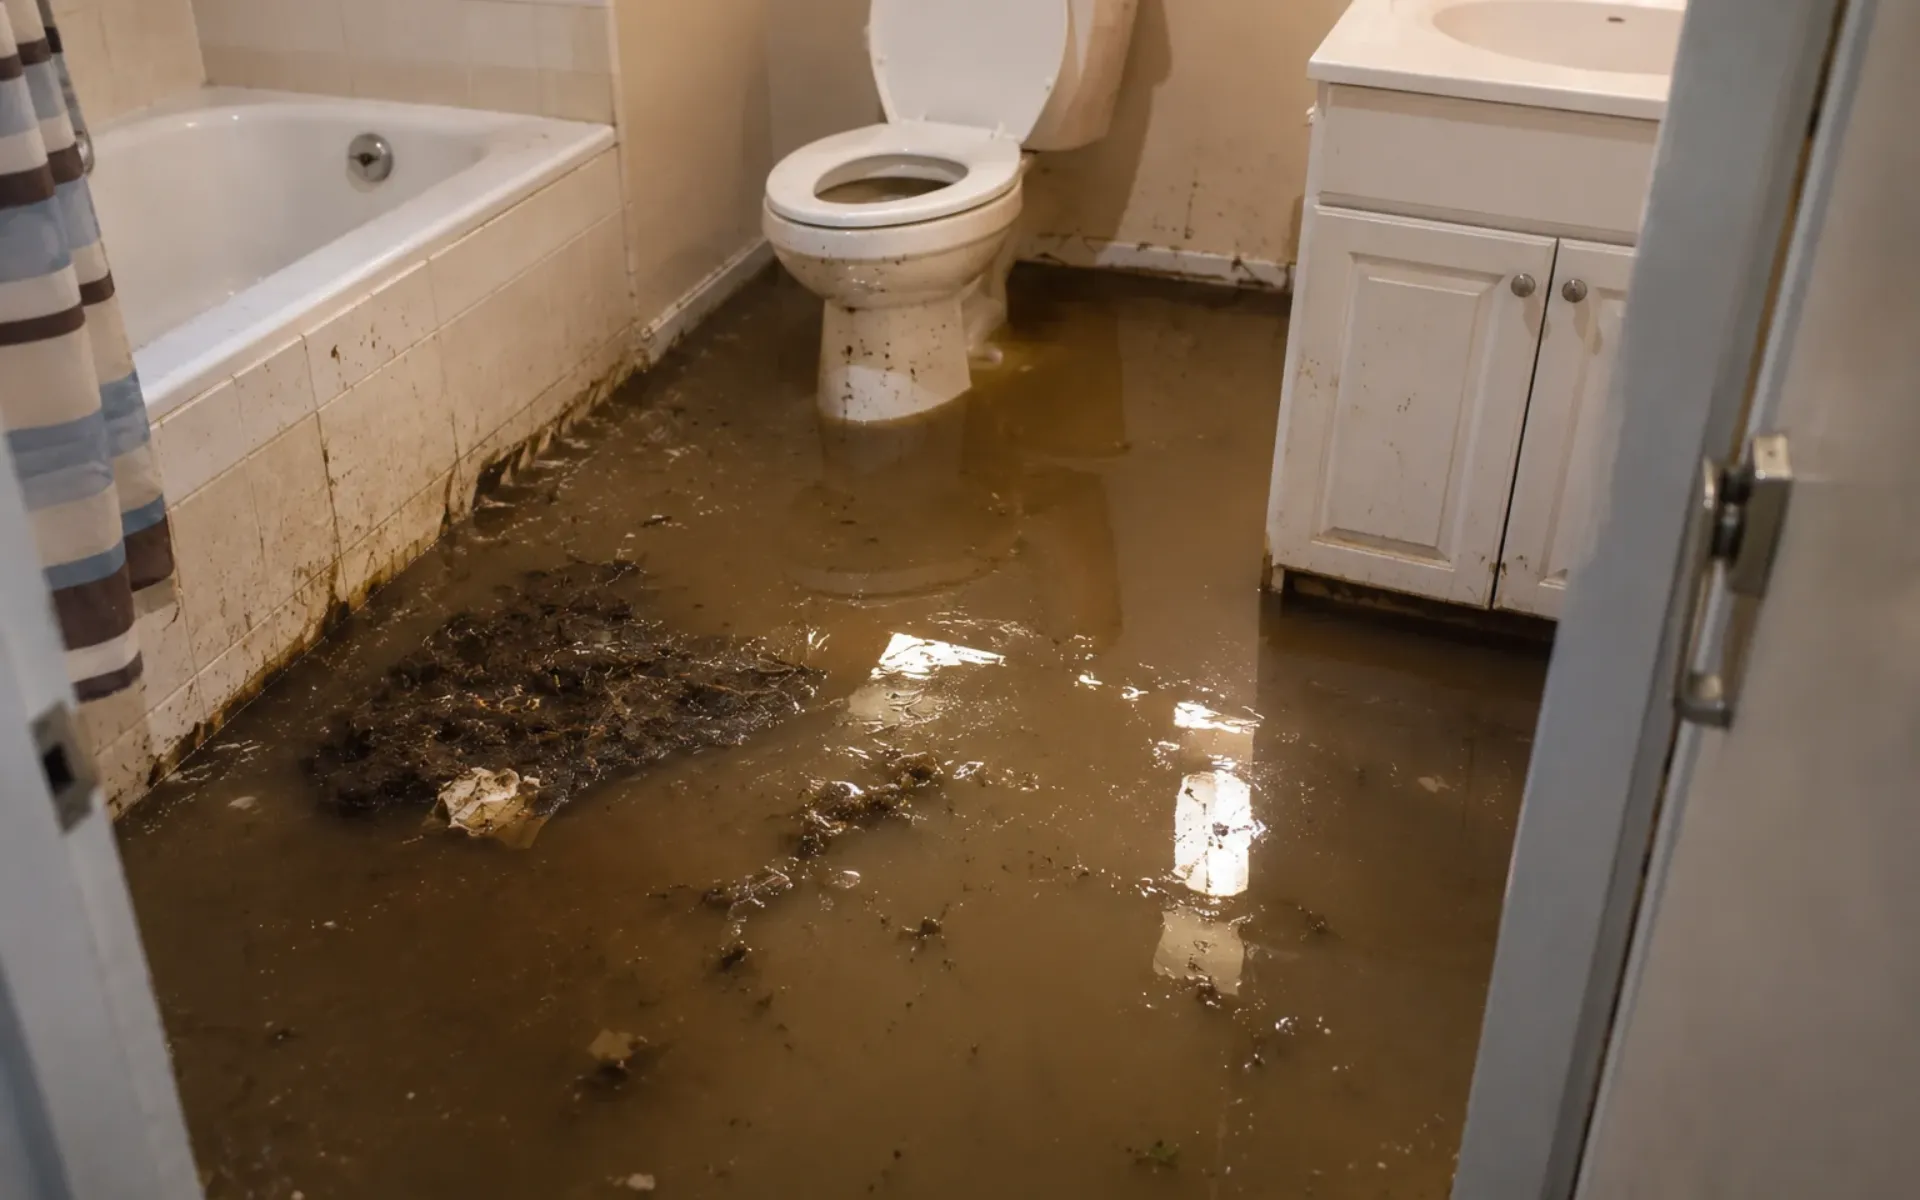
Supply lines and drain or sewer lines fail differently. A supply line carries pressurized clean water, so a rupture sprays or floods quickly. A sewer or drain failure may release wastewater, which adds a sewage risk and a more serious cleanup. Knowing which system is affected tells you how urgent the response is and who to call.
How to Tell if a Pipe Has Burst
You can tell a pipe has burst by sudden water, damp or stained surfaces, or a loss of water flow. Some bursts are obvious, with water pouring from a ceiling or pooling on a floor. Others are quieter and show up as symptoms that build slowly. Learning both types helps you act before damage spreads.
A burst does not always cause immediate flooding. Ice may still block the break in cold weather, or the split may be inside a wall or beneath a floor where water spreads out of sight. A slow leak can also come before a full rupture or simply mimic one. Any unexplained moisture deserves a prompt look.
Think of the signs in two groups: immediate emergencies and gradual clues. Active water and sudden loss of flow demand quick action. Rising bills, odors and pressure changes call for investigation soon. The next sections separate the obvious indicators from the hidden ones and explain where to search.
Obvious Signs of a Burst Pipe
The clearest signs of a burst pipe are standing water, wet ceilings or walls, and a sudden drop or loss of water flow. Any of these, especially together, points to an active leak. Stains that grow, ceilings that sag and rooms with unexplained puddles are strong clues. Treat them as emergencies, not cosmetic problems.
Look closely at walls and ceilings. Water that collects behind drywall can make it bulge, soften or discolor, and paint may bubble or peel. Floors may feel soft, warped or damp underfoot. These changes often appear before water is visible, so touch and inspect suspicious areas.
Flow changes matter too. If several faucets suddenly run weakly or not at all, a supply line may have ruptured or frozen. Rushing water sounds or banging pipes can also signal trouble. Keep in mind that a burst may make only a slight crack or pop and often goes unheard.
Because noise is unreliable, rely on what you can see and measure. Check ceilings, floors, basements and fixtures after cold weather or any pressure event. If water is running or is close to electrical equipment, treat the situation as urgent. Shut off the supply first, then investigate and call for help.
Subtle Signs of Hidden Leaks
Hidden leaks show up as low or fluctuating pressure, strange noises, damp spots, musty odors, mold or an unexplained jump in your water bill. Discolored or rust-tinged water can also point to pipe deterioration. These signs are easy to dismiss because they develop slowly. Together they suggest water is escaping somewhere you cannot see.
The water meter offers a simple test. With all water off, check whether the meter keeps running; if it does, water is leaking somewhere. In cold weather, frost on a pipe, no flow and odd odors from faucets can indicate a frozen line. Frozen pipes should be handled carefully, since a burst may follow once thawing begins.
Where to Look for Burst Pipes
Start looking in places where plumbing runs and water tends to collect: under sinks, basements, crawl spaces, attics, exterior walls and near the water heater. Puddles commonly appear in basements, crawl spaces and around water heaters. Use a flashlight and check the bottoms of cabinets, pipe joints and ceilings below bathrooms. Freezing-related bursts most often occur in unheated or exposed spaces.
Underground and slab leaks are harder to find. Wet patches in the yard, soggy ground that stays damp without rain, or warm spots on the floor can indicate a leak in a buried or under-slab line. These problems rarely resolve themselves and can erode soil or damage foundations over time. Early detection limits the scope of repairs.
The water meter helps confirm suspicions. Turn off every fixture and appliance, then see whether the meter moves. A moving meter means water is escaping, even if no puddle is visible. A plumber can then use specialized equipment to find the exact source without opening more of the structure than necessary.
What to Do Right Away When a Pipe Bursts
When a pipe bursts, shut off the main water supply first to limit damage. A broken pipe is an emergency when water is actively flowing or is near electrical equipment. Speed matters, because every minute of flow adds to the damage. Acting in order keeps the response safe and effective.
The usual sequence is: close the main valve, open faucets to drain the lines, address electrical safety, remove standing water, dry the area and call a plumber. Photograph the damage before major cleanup begins, and contact your insurer promptly. Knowing where the shutoff valve is before an emergency saves valuable time. Each step is covered in more detail below.
- Shut off the main water supply.
- Open faucets to drain lines.
- Make electrical areas safe.
- Remove water and dry.
- Document damage and call a plumber.
The aim of the first minutes is to stop the water and prevent injury. Permanent repair can wait, but flooding cannot. Once the supply is off and the area is safe, you can focus on drying and recording the damage. That order protects both your home and any later insurance claim.
Shut Off the Water and Electricity Safely
Turn off the water at the main valve, which is usually near the water meter or where the main line enters the house. Then open faucets to drain the remaining water from the lines and reduce leaking. Locating this valve before a crisis makes the response much faster. Everyone in the household should know where it is.
Electricity and water are a dangerous mix. Turn off power to the affected area only if you can do so safely, and avoid touching electrical parts when wet or while standing in water. If the panel is in a flooded space or the risk is unclear, stay away and call an electrician or emergency services. Safety comes before saving belongings.
Consider where the failure occurred. If the burst is on an interior line, closing your main valve stops it. If water is coming from a broken main outside the property, contact the water utility, since the problem may be on its side of the system. Either way, report it quickly so it can be controlled.
Remove Water, Dry the Area and Check Heat
Remove standing water quickly and dry the area to protect floors, walls and belongings. Use a wet/dry vacuum for standing water, mops for small amounts, and pumps for larger volumes. Move furniture and valuables to dry spaces first. Discard saturated porous materials that cannot be dried reliably.
Drying is time sensitive because mold can begin to grow if moisture lingers. Run fans or a dehumidifier, and open windows when conditions allow, to dry surfaces and reduce moisture. Keep the home heated, especially in cold weather, to prevent further freezing and speed drying. Check hidden areas such as cabinet bases and wall edges, where dampness often persists.
Document Damage for Insurance
Document the damage before cleanup so your insurer can see what happened. Take digital photos or video of the affected rooms, the broken pipe if visible, and every damaged item. Notify your insurer promptly, and keep damaged belongings if the adjuster asks to see them. Clear records make claims easier to process.
Create a complete list of damaged property and possessions. Include descriptions, approximate age and any purchase details you have. Save receipts for emergency measures such as pumping, drying equipment or temporary repairs. Keeping everything in one place helps you avoid gaps when the claim is reviewed.
How to Fix a Burst Pipe
Fixing a burst pipe has two stages: stop the leak temporarily, then make a permanent repair. The right fix depends on pipe material, location and the extent of damage. A small split in an accessible copper line is a different job from a failed buried pipe or a corroded system. Matching the repair to the cause prevents repeat failures.
Temporary measures can reduce damage while you wait for help. They are not intended to last, and they only work when the water is off and the pipe is dry. A repair that seems solid may fail under pressure once water is restored. Treat any patch as a short-term bridge.
Self-repair can cause further damage if done incorrectly, so rely on professionals for permanent work. A plumber can diagnose the underlying cause, such as pressure or corrosion, instead of just replacing the failed section. That diagnosis matters, because the same stress may break the pipe again elsewhere. The following sections cover short-term options, lasting solutions and when to call for help.
Temporary Fixes Until a Plumber Arrives
Temporary fixes include repair clamps, rubber and hose clamp patches, self-fusing tape and epoxy putty, all applied with the water off and the pipe dry. Each can slow or stop a small leak, but none is a permanent repair. Their usefulness depends on the size and shape of the break. Larger splits or damaged joints often exceed what these products can handle.
Clamps grip the pipe and compress a seal over the split. A rubber and hose clamp patch works similarly on small damage. Self-fusing tape wraps and bonds to itself, while epoxy putty hardens over small holes. Monitor any patch closely, and arrange permanent repair quickly.
- Repair clamp
- Rubber and hose clamp patch
- Self-fusing tape
- Epoxy putty
Permanent Repair and Pipe Replacement Options
Permanent repair usually means cutting out the damaged section and fitting a coupling or replacing the section with new pipe. When corrosion is widespread, repiping may be the better long-term answer because patches would only move the failure. For buried lines, trenchless pipe bursting offers another route. It fractures the old pipe while pulling in a new one.
That method suits brittle pipe such as cast iron, vitrified clay, plain concrete and asbestos cement. Ductile iron and steel generally need pipe splitting instead, which slits the pipe rather than shattering it. Bursting can replace pipe size for size or upsize it by up to two standard sizes. Ground displacement can affect nearby utilities or structures if the work is not managed carefully.
| Pipe type | Method | |
|---|---|---|
| Brittle (cast iron, clay, concrete, asbestos cement) | Pipe bursting | |
| Ductile iron, steel | Pipe splitting |
When to Call a Professional Plumber
Call a professional plumber when the failure is hidden, underground, involves multiple leaks or sewage, or you cannot locate or operate the shutoff. Those situations carry higher risk of damage and contamination. A plumber can locate the exact leak source using specialized equipment, which avoids unnecessary demolition. Expert diagnosis also reveals whether the failure is isolated or systemic.
An emergency visit typically includes inspection, leak detection, repair and a pressure check. The plumber can confirm that the repair holds and that supply pressure is not stressing the system. If the damage points to age or corrosion, you may also get advice about replacing larger sections. That guidance helps prevent a second emergency.
Costs vary with pipe material, access, the extent of the damage and whether the work is urgent. Hard-to-reach or buried pipes generally require more labor than a visible section under a sink. Ask for a written estimate and the scope of work before approving major repairs. Local pricing differs, so compare quotes in your area.
Does Insurance Cover Burst Pipes?
Insurance often covers sudden, accidental burst pipe damage, but coverage depends on your policy. A homeowners policy may pay for water damage from a sudden, accidental burst, while gradual leaks, neglect and maintenance problems are commonly excluded. Insurers draw a line between an unexpected event and a long-developing problem. The wording of your policy decides the outcome.
Coverage varies by insurer, so review your water damage terms and ask questions before you need to file. A basic policy may cover burst pipe damage, while certain extra damage may require added coverage. Know your deductible and what limits apply. Nothing is guaranteed until the insurer confirms the claim.
Maintenance helps with claims as well as prevention. If damage appears to result from long-term corrosion or neglected repairs, an insurer may deny or reduce payment. Prompt shutoff and reasonable mitigation show you acted responsibly. Keep policy documents handy so you can reference them quickly in an emergency.
Frozen Pipes, Outdoor and Underground Lines
Freezing, outdoor and underground lines are often treated differently from interior plumbing. Some policies attach conditions to frozen pipe claims, such as keeping the heat on or limiting how long the home is vacant. Failing to meet those terms can affect payment. Check them before winter, especially if you travel.
Yard and service line coverage is often separate or optional, available through an add-on endorsement. Also distinguish the damage caused by the burst from the cost of repairing the pipe itself, since policies may treat them differently. Coverage varies by insurer. Review the policy language on water damage and ask your insurer to clarify anything unclear.
Burst Pipe Claim Tips
To make a burst pipe claim, limit the damage, document it, contact your insurer, and keep every record. Following a consistent order makes the process smoother and shows you took reasonable steps. Avoid permanent repairs before approval where your policy requires it. Emergency measures are normally expected, though.
- Stop the water and mitigate damage.
- Document the damage.
- Contact your insurer.
- Keep invoices and notes.
- Get approval for permanent repairs where required.
Take these steps in sequence: stop the water, photograph and list the damage, notify the insurer, save invoices and receipts, and wait for any required approval before major permanent work. Keep receipts for repairs, temporary housing and notes on every conversation with the insurer. Those notes help resolve disagreements later. Record names, dates and what was promised.
Understand what your policy covers. Building coverage addresses the structure, while contents coverage addresses belongings. Consider your deductible when deciding how to proceed, especially for smaller losses. Ask your insurer which costs are included before you commit to repairs or relocation.
Landlord or Tenant Responsibility
The landlord is usually responsible for the building structure and plumbing, while the tenant should report the problem promptly and insure personal belongings. The exact split varies by jurisdiction and by the lease. Reading the lease and local rules helps you understand your obligations. Quick communication protects both parties.
If you rent, tell the landlord or property manager immediately when a pipe bursts. Shut off the water if you can do so safely, and take photos of the damage. Delay can increase harm, and it may complicate who bears the cost. Written notice creates a clear record.
Contents insurance matters for tenants. A landlord’s policy typically addresses the building, not your furniture, electronics or clothing. Without renter’s coverage, losses to those items may fall on you. Keep an inventory with photos so you can support a claim.
Responsibility can shift if damage resulted from something a tenant did, such as neglecting freezing precautions that the lease required. Landlords, in turn, must maintain safe plumbing and respond to repair requests. If a dispute arises, written records help. Local tenancy rules or advice services can clarify your rights.
How to Prevent Burst Pipes
Preventing burst pipes means addressing each cause: protect against freezing, control pressure, replace corroded sections and keep drains and sewer lines clear. Most bursts occur during cold snaps and thaws, so winter preparation matters. Other risks, such as pressure and corrosion, operate all year. A mix of seasonal and routine measures works best.
Proactive maintenance prevents most pipe failures and saves repair costs. Small fixes, such as securing a loose pipe or adjusting a regulator, cost far less than repairing water damage. Finding weak points early allows planned work instead of emergencies. That is the practical value of prevention.
Group your efforts by cause. Insulation and heat address freezing; a gauge and regulator address pressure; inspection catches corrosion; and tree and drain checks address roots and clogs. Knowing your shutoff valve completes the plan. The next sections cover cold-weather steps and year-round monitoring.
Preventing Burst Pipes in Freezing Weather
To prevent burst pipes in freezing weather, insulate exposed pipes, seal drafts, keep the heat on and let warm air reach vulnerable plumbing. Focus on crawl spaces, basements, attics and exterior walls. Insulating pipes in crawl spaces and basements protects them from freezing. Open cabinet doors under sinks so heat reaches uninsulated pipes.
Outdoors, disconnect hoses and drain outdoor lines. Trapped water in them can freeze and push back into the plumbing. Let faucets drip during severe cold if you need extra protection, and know where your shutoff valve is in case something fails. Preparation before the freeze matters most.
If you are away from home, maintain a minimum level of heat or drain the system. An empty house with the heating off is at real risk, and a burst can run unnoticed for days. Ask someone to check the property periodically. Review your policy conditions on vacancy as well.
Year-Round Maintenance and Monitoring
Year-round maintenance means checking pressure, securing pipes, replacing worn sections and watching for early signs of leaks. Test pressure with a gauge and keep it within the recommended range, using a regulator if it runs high. Regular checks reveal trends before they become failures. Consistency matters more than intensity.
Secure loose pipes so they do not knock or flex when water is turned on or off. Replace visibly corroded sections before they fail, particularly in older metal plumbing. Rust-colored water or pinhole leaks suggest the pipe is thinning. Planned replacement is far cheaper than emergency repairs.
Monitor your usage. A sudden bill increase or a moving meter with everything off can signal a hidden leak. Inspect trees growing near sewer lines, since roots can damage older underground pipes. Leak sensors and temperature alerts can warn you quickly.
An annual inspection by a licensed professional can catch problems early. A plumber can assess pipe condition, joints, pressure and drainage that you may not see. This is particularly worthwhile for older homes. Early detection protects both your property and your budget.
How Much Damage Can a Burst Pipe Do?
A burst pipe can do extensive damage because the amount of water depends on pressure, pipe size and how long it runs before you detect it. Burst pipes can release hundreds of gallons, causing structural damage and mold. Ruined belongings, electrical hazards and higher water bills often follow. Damage grows quickly the longer water flows.
Costs can be significant. Water damage and freezing claims average about $11,650 per claim. That figure reflects how disruptive even a single event can be. Quick shutoff is the most effective way to keep a burst from becoming a major loss.