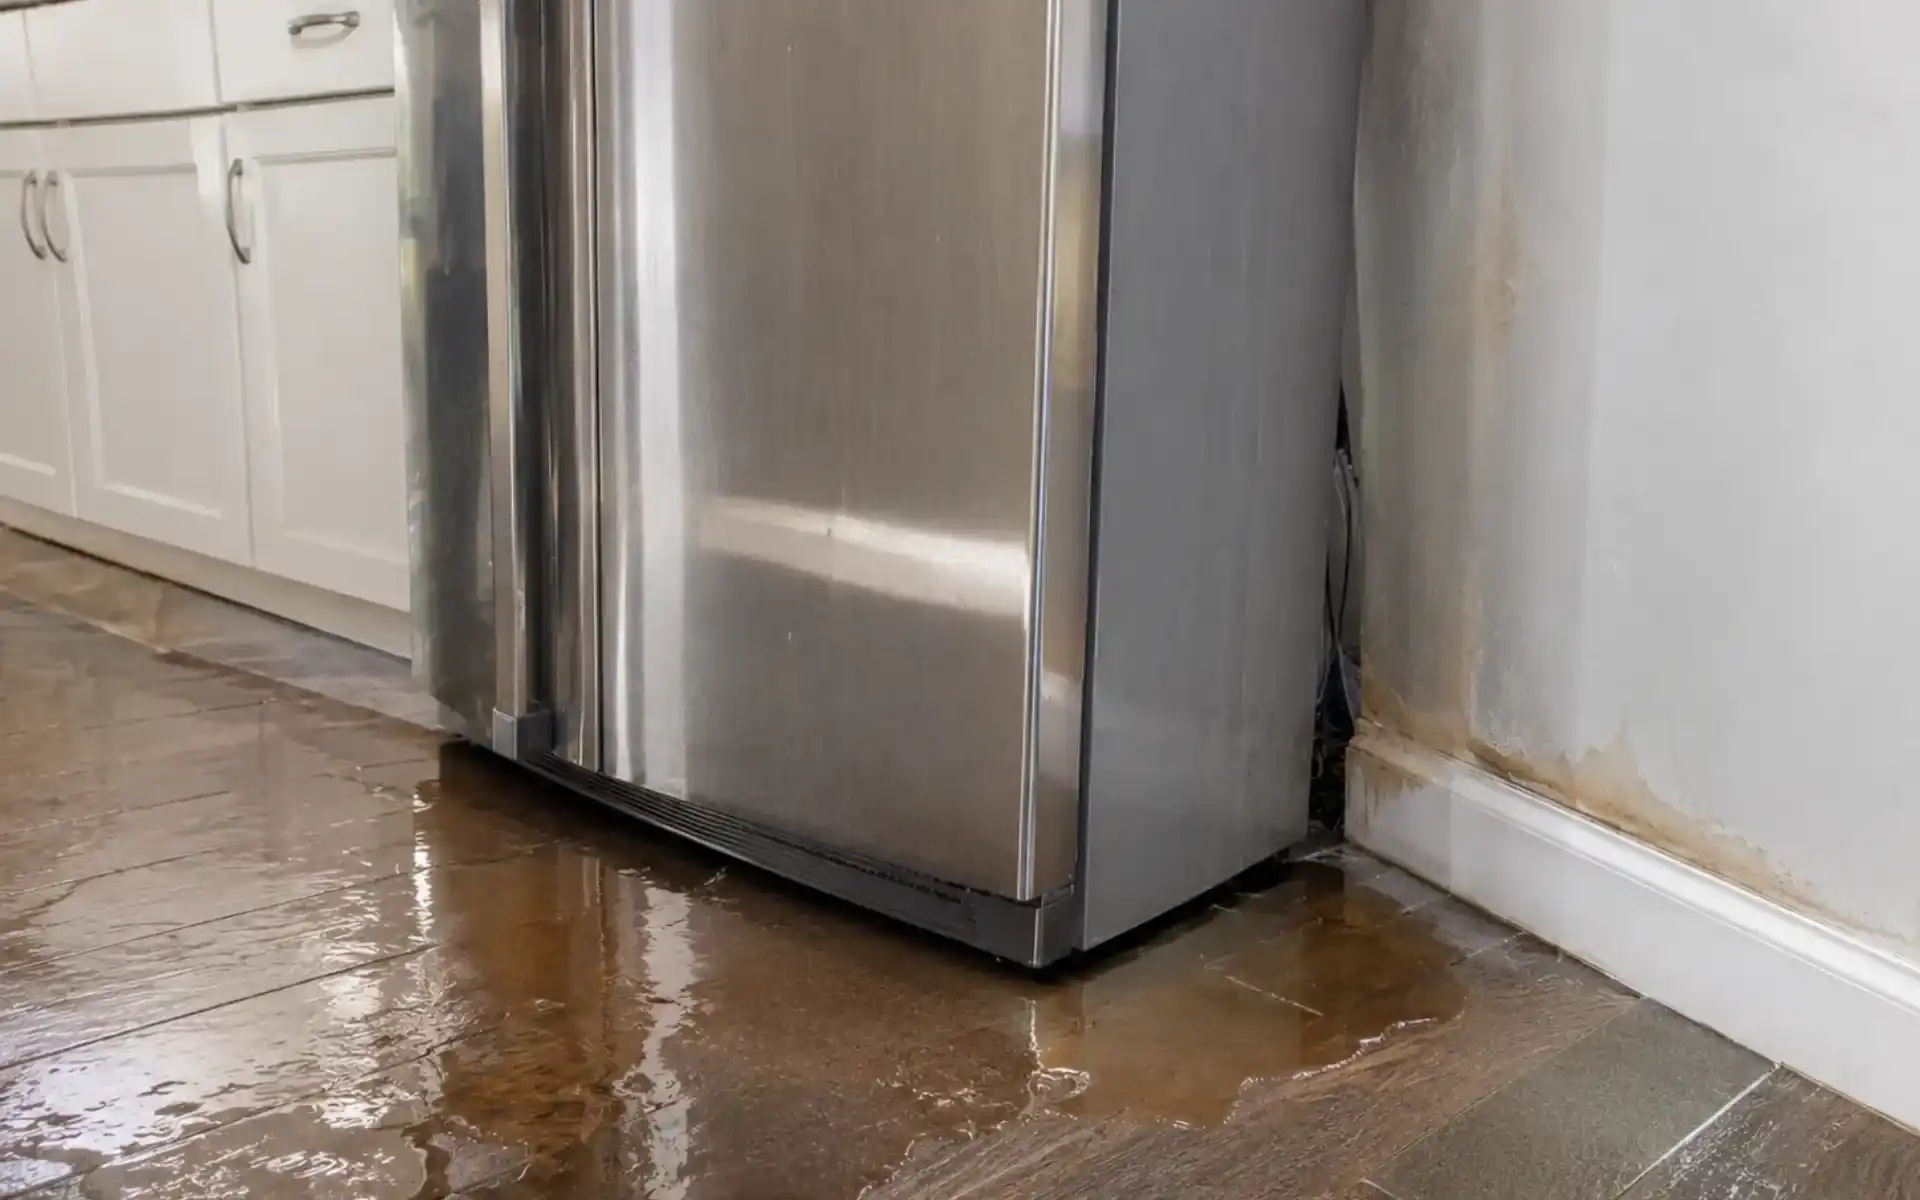
A refrigerator usually leaks water because of a blocked defrost drain, a worn door gasket, or an appliance that is not level. Each of these problems keeps condensation or melted frost from reaching the drain pan, so water collects inside or spills onto the floor. Before assuming a failed part, rule out ordinary condensation and spilled items, since a leaking carton or damp produce can look like a real fault. Water near the ice maker often comes from its supply connection rather than the cabinet, so the location of the puddle matters a great deal.
Other culprits include cracked tubing, a cracked drain pan, air trapped in water lines, and faulty dispensers. A simple leveling check helps first: the front should sit slightly higher than the back so water drains toward the opening. Many of these problems are manageable at home with basic cleaning and inspection, and the sections below show how to narrow down the source. Compressor or defrost system faults are different, and professional repair is the sensible choice for them.
What Are the Most Common Reasons a Refrigerator Leaks Water?
The most common causes are a clogged defrost drain, a damaged door gasket, and an unlevel refrigerator. A clogged drain backs up water inside the refrigerator or freezer until it overflows onto the floor. A damaged gasket lets humid air in, and the resulting condensation drips and pools inside. An unlevel unit may not send water toward the drain opening, so it can spill or collect instead.
| Cause | Result | |
|---|---|---|
| Clogged drain | Water backs up, overflows | |
| Worn gasket | Humid air, dripping condensation | |
| Unlevel unit | Water spills or pools |
High humidity makes each of these problems worse because it adds moisture faster than the appliance can handle. Humid air can overwhelm the evaporator pan, causing it to overflow faster than the water evaporates. That is why leaks sometimes appear only during muggy weather, even when the refrigerator seemed fine earlier. The table summarizes how each cause creates water and where it tends to show up.
How Do You Tell Where the Leak Is Coming From?
You can find the source by noting where the water appears: inside the shelves, at the bottom front, underneath, at the back, or on the floor. Water in the fresh-food section, the crispers, or the freezer points toward different causes than a puddle that forms only on the kitchen floor. Interior water often relates to the drain, gasket, or dispenser tank, while floor water often relates to the pan, supply lines, or leveling. Writing down where the water first shows up gives you a clear starting point for the checks that follow.
Timing offers additional clues, so watch for when the puddle forms and how fast it grows. Ice buildup in the freezer, water after using the dispenser, or a wet floor after humid days each suggest a particular cause. Ice at the freezer floor hints at a blocked drain, dispenser use points to lines or fittings, and humidity points to the pan. Keeping a short note of these patterns can save time when you decide whether to repair or call someone.
Some leaks are not leaks at all, so rule out simple explanations first. A spilled carton, a cracked bin, or condensation on shelves can leave water that looks like a failing component. Produce moisture can also collect, and a hidden spill may spread under the drawers before you notice it. Wipe everything dry, then watch for new water; if none returns, the cause was likely a container or spill.
What to Check First Before Troubleshooting
Start by unplugging the refrigerator and drying the floor, since standing water creates slip and electrical hazards. Unplugging is also required before you clean any accessible interior area where water has been leaking. Next, observe and note when and where the water appears, then work through the quick checks in order. Leveling comes first, followed by the gasket, drain, water lines, and finally the pan, moving from simplest to most involved.
- Unplug and dry the floor
- Check leveling
- Inspect the gasket
- Check the drain
- Inspect water lines and pan
Leveling matters because a tilted unit can make water drain incorrectly and then spill or pool. The front should sit slightly higher than the back so water flows toward the drain opening rather than away from it. Adjust the feet a little at a time and recheck, since small changes are often enough to restore proper flow. Checking the gasket for cracks and tears next, then the drain and lines, keeps the process orderly.
Causes of Water Leaking Inside the Refrigerator
Water inside a refrigerator usually comes from the defrost drain, the door seal, the filter, the dispenser tank, or high humidity. You may see it on shelves, under the vegetable trays, or as freezer water running down into the fridge. Pooling water inside does not always mean something is leaking, because condensation and melted frost can gather without a broken part. Matching the location of the water to the likely source keeps you from replacing parts that are working fine.
A cracked dispenser tank is one of the easiest internal causes to spot, since water appears near the dispenser components. Air trapped in water lines or broken dispenser switches can also cause dripping inside the unit. These water-line problems tend to show up around dispenser use, while drain and seal problems occur regardless of use. The three subsections below look at the drain, the gasket and humidity, and the tank, line, and filter.
How Does a Clogged Defrost Drain Cause Leaks?
A clogged defrost drain stops melt water from reaching the drain pan, so it freezes, pools, and spills into the fridge. A small drain tube normally carries condensation or melt water down to the drainage pan underneath the appliance. When debris blocks that tube, the water has nowhere to go and the blockage can lead to ice at the freezer floor. Water under the crisper drawers is another common sign that the drain is backed up.
- Turn off, remove food
- Thaw ice
- Flush with warm water
- Clear debris
- Test the flow
To clear it, first turn the refrigerator off and remove food, products, and shelves if needed to reach the drain. Thaw any ice, then flush the drain with warm water or clear the clog with a hanger or pipe cleaner. Work gently so you do not damage the tube, and keep towels nearby to catch runoff. After flushing, pour in a little water and confirm that it flows freely to the pan.
Several steps make the job easier when done in order. Empty the area, thaw ice, flush with warm water, clear debris, and test the flow before restocking. Dry the interior thoroughly afterward so you can tell whether new water appears. If the blockage remains after careful clearing, stop rather than forcing anything into the line.
Stopping matters because pushing hard can damage the tube or components behind the panel. A persistent clog suggests the problem sits deeper in the defrost system, and that is a job for a professional. Refilling the freezer with food before the drain is confirmed clear risks another round of ice and overflow. Once water drains normally, the leak should stop and the ice should gradually disappear.
Can a Damaged Door Gasket or High Humidity Cause Internal Moisture?
Yes, a worn gasket lets humid air in, which causes condensation and frost, and high humidity can overload the drainage system. Moisture entering at each door opening lowers the internal temperature and pools water inside the cabinet. In humid climates the extra load can cause the evaporator pan to overflow faster than the water evaporates. Both problems add water that the refrigerator was never designed to handle in such volume.
To test the seal, check the door gasket for cracks and tears, and look for gaps along the edges. A dollar bill closure test works well: close the door on the bill and see whether it pulls out easily. If it slides out without resistance, the seal is not tight in that spot. Clean a dirty gasket first, and replace it if it is cracked or no longer closes snugly.
Could a Cracked Water Tank, Blocked Line or Old Filter Be the Cause?
Yes, a cracked dispenser tank can leak into the fridge, and a blocked line or an old filter can cause leaks too. A filter over six months old can become defective and cause a gradual leak. A filter housing that does not fit properly may also leak right after a filter change. Many apparent leaks turn out to be spilled cartons, so dry everything and observe before replacing parts.
A blocked dispenser line can back up water, and air trapped in the lines can make the dispenser drip. Broken dispenser switches can cause dripping as well. Before checking the dispenser line for damage, turn off the fridge and close the shut-off valve. That prevents water from flowing while you handle fittings and tubing, and it protects you from electrical risk.
Why Is My Refrigerator Leaking Underneath or on the Floor?
Water underneath or on the floor usually comes from the drain pan, supply lines, inlet valve, or an unlevel refrigerator. Water can spill out of the drain pan when the refrigerator is not level, which sends it to the base. If your fridge has a water dispenser, a damaged water line may also leak onto the floor. Cracked plastic tubing behind the unit or a broken pan can release water in the same way.
Where the water appears gives a useful hint. Water at the bottom front often points to the drain, pan, or leveling, while water at the back suggests lines or the inlet valve. Check whether the puddle grows only after dispenser or ice use, or whether it forms steadily regardless. The three subsections below examine the pan, the supply line and valve, and the ice maker and dispenser.
Is the Drain Pan Cracked or Overflowing?
A drain pan can leak if it is cracked or overflow if it fills faster than it evaporates, and either sends water to the floor. A crack in the pan allows water to leak directly onto the floor. A dirty pan can cause odors along with overflow. High humidity makes the pan evaporate slower than it fills, so leaks often appear on muggy days.
- Unplug the refrigerator
- Remove ice drawer and panels
- Slide out and empty the pan
- Clean and check for cracks
- Replace if damaged
To inspect it, unplug the refrigerator and remove the ice drawer and any plastic cover or panels limiting access to the drain pan. Slide the pan out carefully, since it may already hold water, and look for cracks or warping. Clean the pan if it is dirty, and replace it if it is damaged. Put the pan back securely and restore the panels before plugging the unit in.
A simple sequence keeps the work orderly. Unplug, remove panels, slide out the pan, empty and clean it, check for cracks, and reinstall. Keep towels handy because pans can slosh and drip as you move them. If the pan is intact and clean but water still appears, look at drain and level next.
On humid days, manually emptying the drain pan helps avoid leaks. This is a useful stopgap when the climate is the main cause and the pan is not damaged. It does not replace fixing a cracked pan, which will keep releasing water. Combine emptying with a leveling check, since a tilted unit can add to overflow.
Could a Damaged Water Supply Line or Inlet Valve Be Leaking?
Yes, cracked tubing behind the unit, a frozen or clogged supply line, or a faulty inlet valve can leak onto the floor. The inlet valve on the back of the fridge turns water to the ice maker on and off. When it fails or a connection loosens, water can drip steadily even when no one is using the dispenser. Because these parts sit behind the unit, leaks may go unnoticed until water spreads on the floor.
Check for drips at the back of the refrigerator and shut off the water supply before any inspection. Feel along the tubing and connections for dampness and look for cracks in the plastic line. A frozen or clogged line may also cause water to back up and escape at a weak point. Use a flashlight and dry towel so small drips are easier to see.
The inlet valve can be tested through the tube it serves. Water flowing from the tube indicates a faulty inlet valve, because it should stop when the ice maker is not calling for water. This points to the valve rather than the tubing, which helps you decide what to replace. Keep the supply off until you know the cause.
Replacing a cracked line or a failed valve is within reach for some owners, but it involves water and electricity together. Unplug the unit and close the shut-off valve before working on any part. If the leak persists after tightening connections or you are unsure about the valve, call a technician. Mopping up promptly also protects the floor from lasting damage.
Why Is Water Leaking From the Ice Maker or Dispenser?
Water leaks from the ice maker or dispenser when the supply line, fill tube, or connections fail, especially with loose fittings or ice overflow. Too much ice or frozen water can also push moisture out of the area, so check for blockages near the ice maker. Dripping that begins after a filter change often means the filter connection is not seated correctly. Tightening or reseating the filter is a simple first step before assuming a part has failed.
If the dispenser is dripping, trapped air may be the cause. Air trapped in water lines and broken dispenser switches often cause dripping. Running some water through the dispenser can help clear air after a new filter is installed. If the dripping continues, the switch may be broken and need replacement.
Is It Water, or Could It Be a Refrigerant Leak?
Refrigerant or oil leaks are not water leaks, and they need a professional rather than DIY repair. Refrigerant leaks can leave oily or greasy residue that may be mistaken for water, especially black or brown liquid near the compressor. Dirty drain-pan water can also look dark, so compare the feel: oily residue is slick, while pan water is thin. If you see oil near the compressor, treat it as a possible refrigerant problem.
Other signs include poor cooling, a chemical odor, a compressor that runs constantly, and ice on the evaporator. Warm items or an appliance thermometer reading above 40°F may indicate a Freon leak. These symptoms together suggest the sealed system, not a drain or seal problem. Call a professional rather than attempting repairs, since sealed components are not DIY territory.
How Can You Fix a Leaking Refrigerator Yourself?
You can fix many leaks yourself by leveling the unit, clearing the drain, replacing the gasket, cleaning the pan, or replacing the filter. Begin by turning the fridge off and removing food, products, and shelves if needed to reach the drain. Remove the ice drawer and any plastic cover or panels limiting access to the drain pan. Gather towels, warm water, and a pipe cleaner or hanger before you begin.
- Unplug and remove food
- Level the unit
- Clear and flush the drain
- Check the gasket
- Clean the pan, replace the filter
Work in order: level the refrigerator, clear and flush the drain, check and replace the gasket, clean the pan, then replace an old filter. A common mistake is forcing tools into the drain or skipping the unplugging step. Another is restocking food before confirming the leak has stopped. Compressor, defrost system, and sealed components fall outside DIY limits, so call a professional for those.
Is a Leaking Refrigerator Dangerous, and When Should You Call a Professional?
A leaking refrigerator can be dangerous because water on the floor can cause falls, electrical shocks, and floor damage. Food spoilage is another risk if the leak comes with poor cooling. Dry the area quickly and keep the unit unplugged while you work near water. Even small leaks are worth tracking, since they can slowly damage flooring.
Call a professional after exhausting possible causes, or when the leak persists after your checks. Refrigerant signs, a leak combined with poor cooling, and complex defrost or compressor issues all need expert attention. Compressor or defrost system problems need professional repair to avoid electrical hazards or structural damage. Calling sooner rather than later prevents a minor leak from becoming a costly one.
How Can You Prevent Refrigerator Leaks in the Future?
Preventing leaks comes down to routine care: clean the drain and pan, check the gasket, and keep the refrigerator level. Replace water filters per the manufacturer recommendation, usually every 6 months. Manage humidity where you can, and avoid overpacking so air and drains are not obstructed. Inspect water lines periodically so small cracks do not become floor leaks.
A regular inspection schedule makes this easy. Check the fridge every two to three months for damage, looking at the gasket, lines, and pan. Catching a worn seal or a blocked drain early costs little compared with repairing water damage. The list gives a short routine to follow.
- Clean drain and pan
- Check gasket
- Keep level
- Replace filter every 6 months
- Inspect lines
Consistency matters more than any single task, because most leaks develop slowly. On humid days, emptying the drain pan manually can help the system keep up. Keep notes on filter changes so you remember the last replacement date. With these habits, most refrigerators stay dry and cooling properly.